Laravel Tutorial – Get Started with Laravel 10
Hey guys,
In this tutorial, we will learn about How to get started with Laravel 10.
So lets get started. We will do the steps by using following steps:

Step 1: Download/Initialize new Laravel Project:
To Initialize a new Laravel 10 project, first we have to download and install Composer. As we know composer is a PHP package manger. You can download Composer by clicking here. After installing Composer, make sure you PHP executable is available in your Environment Variable path.
After installing Composer, you can create a new Laravel project by running below command. This command will create a fresh Laravel project named “awesome-laravel-app”
composer create-project laravel/laravel awesome-laravel-app
Alternatively, if you install Laravel globally in your development environment, every time you can create a new project by running “laravel new app-name“.
composer global require laravel/installer

laravel new example-app
Step 2: Add/Modify Database Connection in Laravel .env file:
After a fresh installation of new Laravel Application, we will configure the Database, first of all, we will create a database called “my_laravel_db” (as per your preference). We will use MySQL with phpMyAdmin GUI in this case. After creating the database, we will configure the DB credentials in our applications .env file. .env is our environment variable file. We will provide our database name, database username, database password (if we use password, I recommend though!). Also define your databse port here, by default it is 3306.
DB_CONNECTION=mysql
DB_HOST=127.0.0.1
DB_PORT=3306
DB_DATABASE=my_laravel_db
DB_USERNAME=root
DB_PASSWORD=
Step 3: Install laravel/breeze package in new Laravel Project for default User registration and login feature:
Now here comes one of the many benefits Laravel offers. We will install Laravel Breeze package to take care our authentication. This is a Laravel Starter kits. By Simply running below two commands, we will get secured Laravel Authentication system with Login and Registration features. One can install Laravel Breeze with combination of Blade, Vue, React or Next.js or API.
composer require laravel/breeze --dev
php artisan breeze:install
After running the last command, the package will ask you to choose your preferred stack, we will select blade here for simple Laravel Auth Scafolding.
$ php artisan breeze:install

Which stack would you like to install?
blade ................................................................... 0
react ................................................................... 1
vue ..................................................................... 2
api ..................................................................... 3
❯ 0
Step 4: Run PHP artisan migrate command for users, migrations, password reset tables:
Now we will run the below command to create users table, migrations table, password resets table etc. So that ourauthentication requirements is fulfilled.
php artisan migrate
Step 5: For npm package installation, run below two commands:
After the migrations, we will install the necessary JavaScript packages for our application. For this, we will run “npm install” command. And then we will run “npm run dev”. This command will go to your package.json file and check what the dev commands do. In our case, it will will run the Vite command. Vite is a JavaScript build tool, which ships with by default with latest Laravel. Previously Laravel used to use Webpack. Vite is a build tool that is often used for front-end development with JavaScript frameworks like Vue.js or React. It provides a fast development server with hot module replacement (HMR) and optimized build processes. Here this command will start a dev server and watch for the changes
npm install

npm run dev
Step 6: Run PHP server
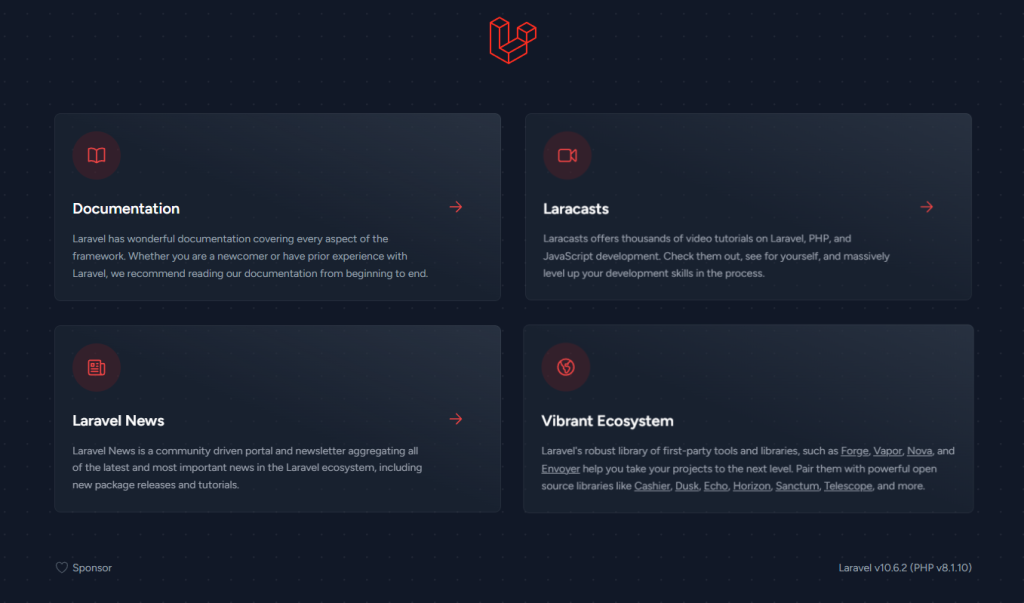
As our application is ready for development, we will serve the application by running below PHP command. It will start a development server in http://localhost:8000. Go to your browser, type the URL and you can see a fresh installation of Laravel.
php artisan serve
That’s all for today. Thank you for your concentration. See you in next one.
If you like this article, please checkout our others article as well.


